Quick start
When you start Terminal for the first time, the following window will be displayed:
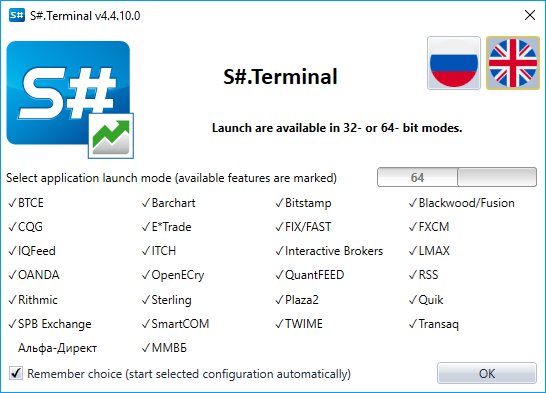
You must select the start mode and click OK.
After selecting the start mode, the terminal window opens with the default set of components.
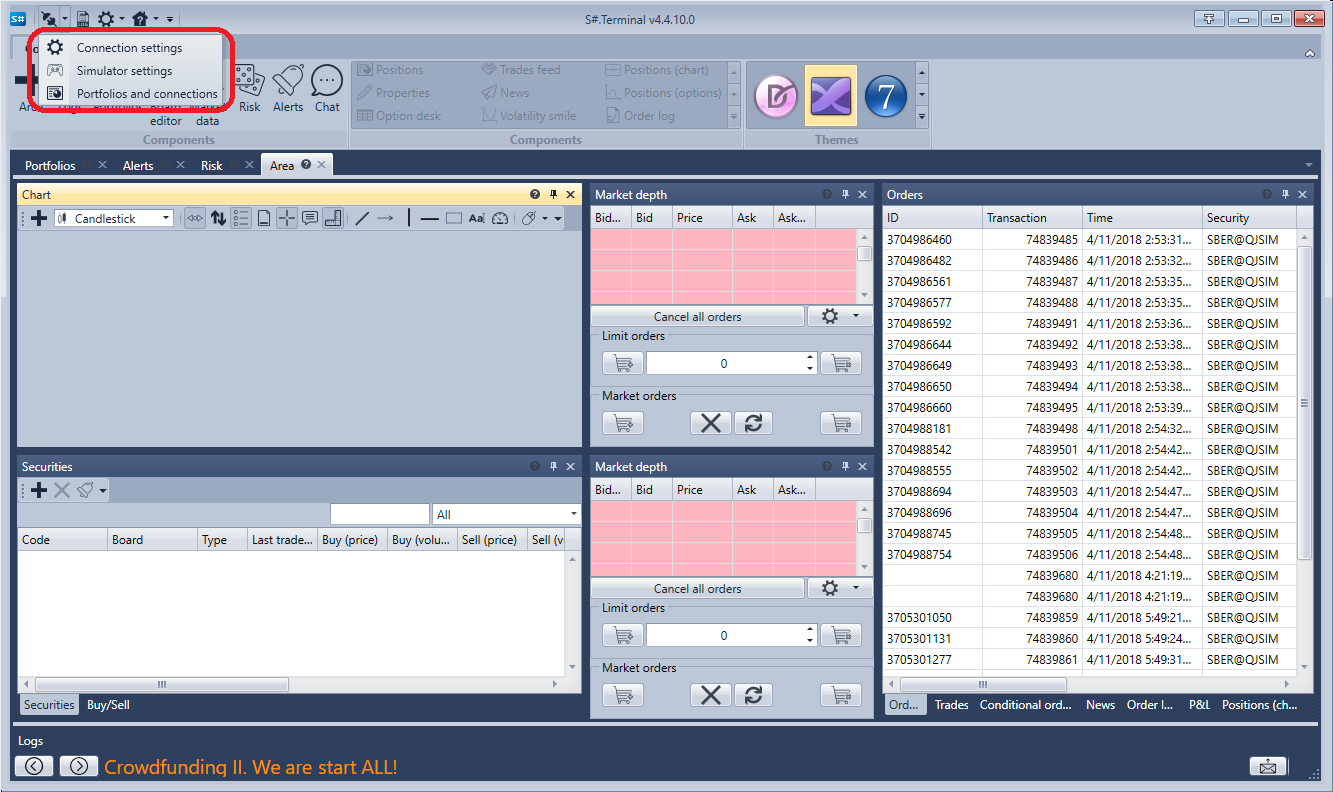
Let's go to the connection settings and select the required connection. How to set up the connection is described in the Connection settings section.
The next step is to connect by clicking the Connect  button.
Clicking the Add  button on the chart panel we add a new chart area. Right clicking the mouse button on the chart area, we add candles to it by the instrument of interest to us. We can add indicators, own trades and orders to the chart. There is also a possibility to register orders from the chart. For more information on how to work with the chart, see the Chart section.

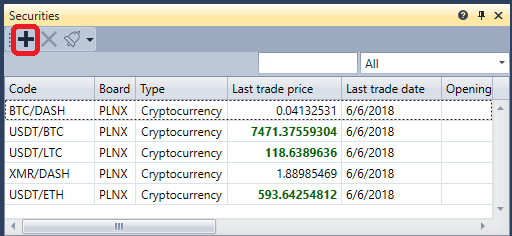
Clicking the Add button on the Instrument panel adds the instruments you want to watch. The best price data will be displayed here. For more information on how to work with the Instrument panel, see the Instruments section.
In the order book, after clicking the Settings  button, a panel appears where you can specify the Instrument and the Portfolio for the trades. Here you can also adjust the order book depth. For more information on how to work with an order book, see the Order book section.
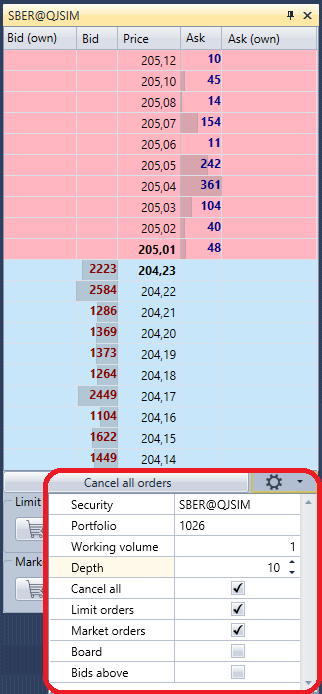
Let’s register the first few orders. Orders can be registered either by clicking the Buy/Sell buttons or by clicking the cells in the Bid/Offer columns of the order book itself. The order panel displays all your orders. When you right-click an order, you will see a panel that lets you submit a new order, cancel, or change the selected order. For more information on how to work with the order panel, see the Orders section.

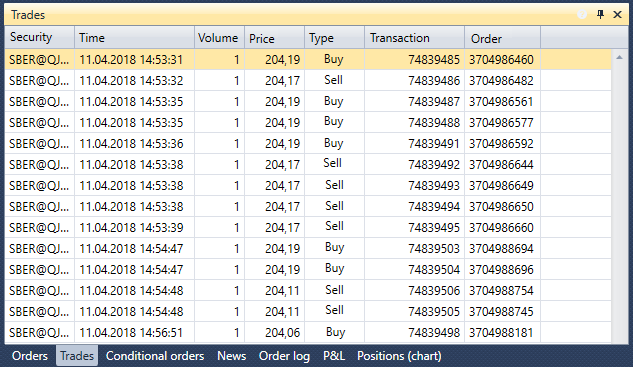
In the Trades panel, you can view trades by instruments. For more information on how to work with the Trades panel, see the Trades section.
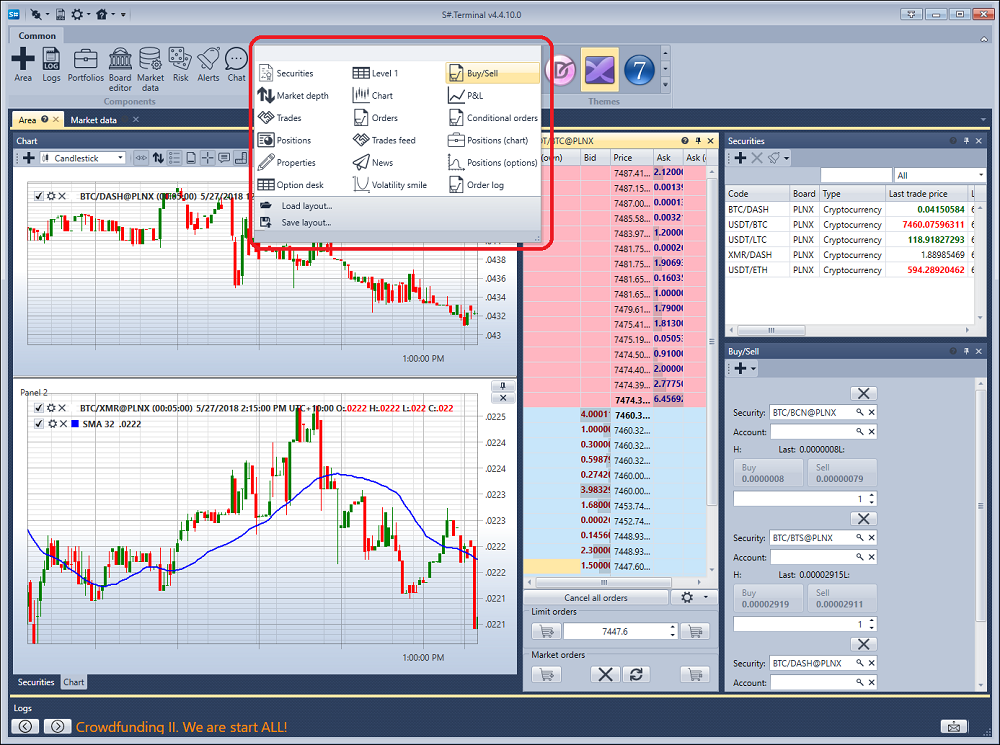
If necessary, you can add additional components. All components are described in the Components section.