Import (auto)
The task performs automatic import of exchange data from files in the specified directory according to the specified file mask.
The task is added with the Tools button: in the window that opens, mark the Import (auto) item and click the Add selected button. The Advanced settings link shows all the task settings as one list.

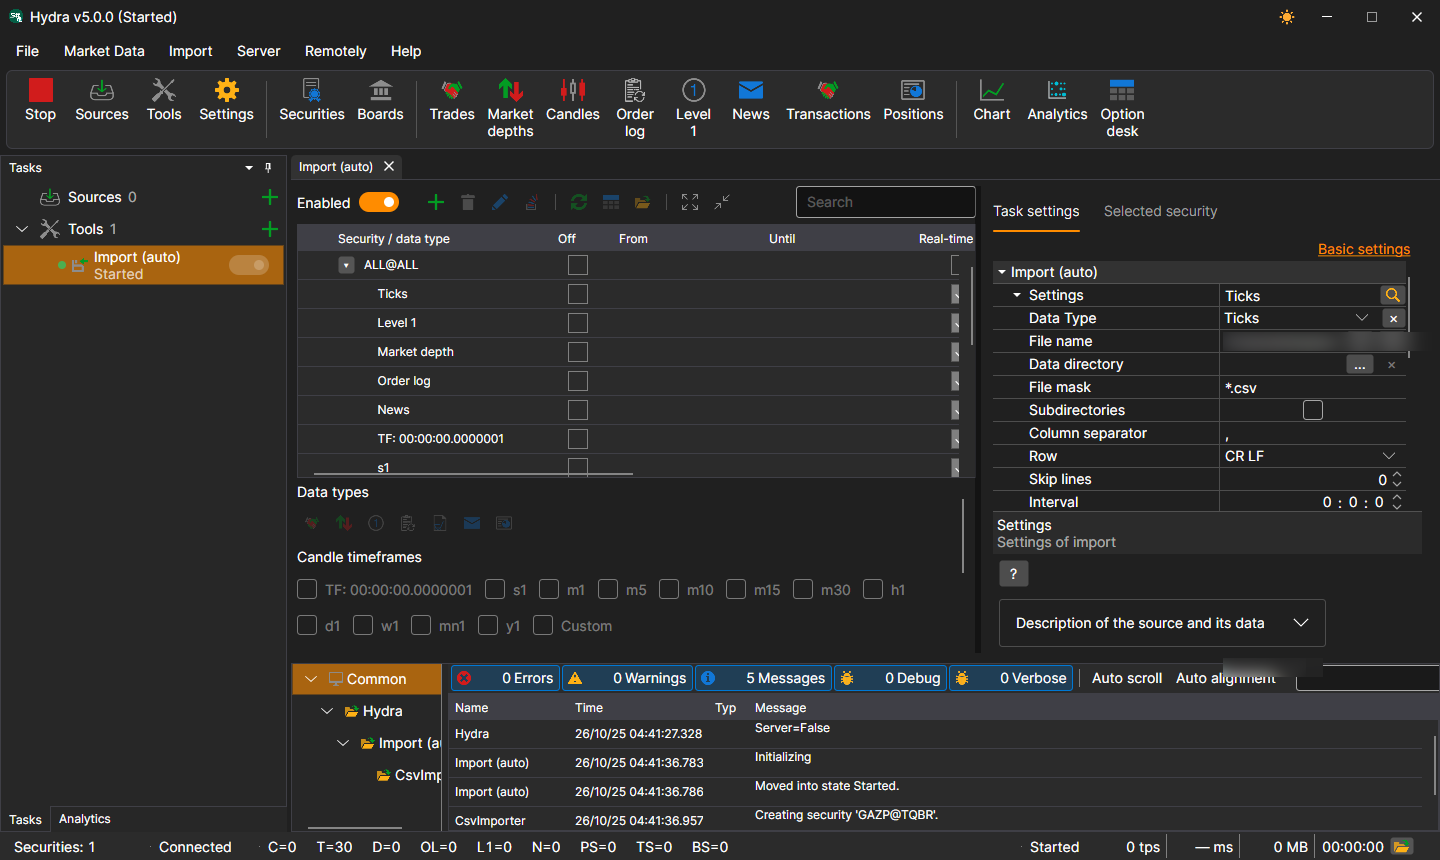
What to import and from where is set in the Settings row. The magnifier button in this row opens a window where, in addition to the same settings, the file columns are matched with the S# fields - the same way as on the Importing tab:

Settings
- Data type - type of imported data.
- Filename - full path to the file.
- Data directory - the directory with files, if not a single file but all suitable files of the directory are imported.
- File mask - file mask that is used when scanning the directory. For example, candles*.csv.
- Subdirectories - include subdirectories.
- Column separator - column separator. Tabulation is denoted by TAB.
- Row - the line ending in the file: CR LF, LF or CR.
- Skip lines - the number of lines to skip from the beginning of file (if they contain meta information).
- Interval - the frequency of data updates.
- Extended information - save extended imported fields in the extended information storage.
- Duplicates - whether duplicate instruments need to be updated if they already exist.
- Ignore without ID - ignore instruments without an identifier.
General
- Continue - continue importing from the last imported date.
- Interval of operation - the interval of operation.
- Data directory - data directory, from where the data for conversion will be received.
- Format - the converted data format: BIN/CSV.
- Max. errors - the maximum number of errors, upon which the task will be stopped. By default, 0 - the number of errors is ignored.
- Header - task title.
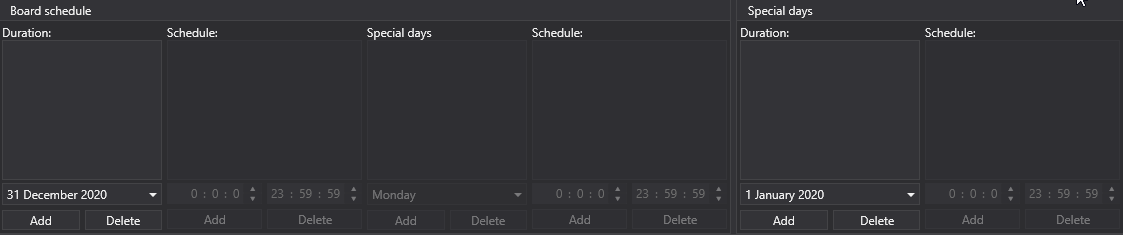
- Working hours - the work schedule of the task.
Logging
- Logging level - the logging level.
Let's consider an example of automatic import of ticks. In the ticks.csv file, each trade is written as a line like GAZP,TQBR,20250401,128.58,74,10:00:02.000000: instrument, board, date, price, volume and time.
- With the magnifier button in the Settings row, open the import settings window.
- Select the Ticks data type and specify the path to the file in the File name field.
- Add the Time field to the S# fields: the required fields - instrument, board, date, price and volume - are already in the order in which the columns go in the file, and the time is added after them. Click OK.
- Enable the task with the Enabled switch and start the import with the Start button.