Creating an Indicator
Creating your own indicator in API is described in the section Custom Indicator. Such indicators are fully compatible with Designer.
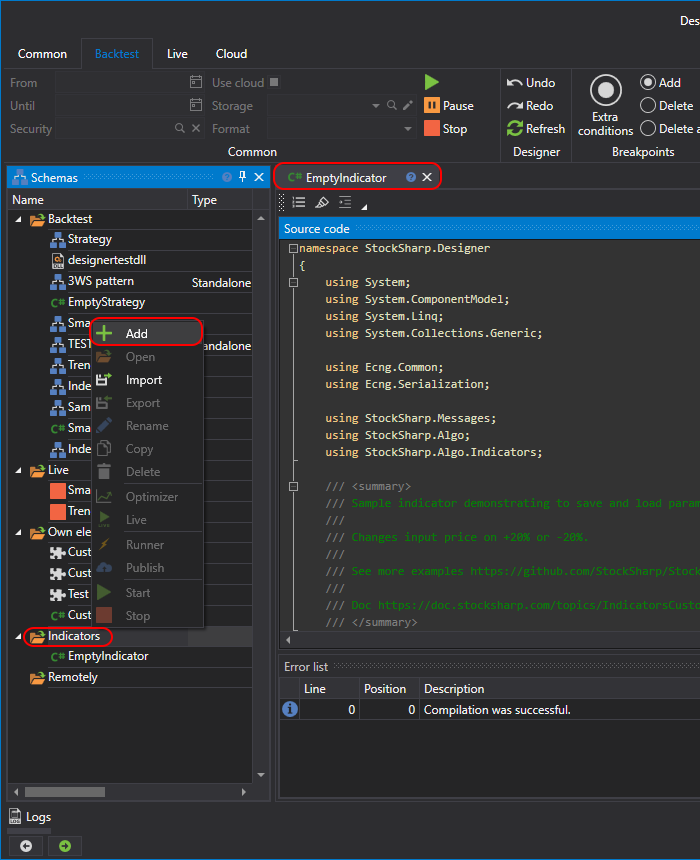
To create an indicator, on the Scheme panel you need to select the Indicators folder, right-click and in the context menu select Add:
The indicator code will look like this:
/// <summary>
/// Sample indicator demonstrating how to save and load parameters.
/// Changes the input price by +20% or -20%.
///
/// See more examples:
/// https://github.com/StockSharp/StockSharp/tree/master/Algo/Indicators
///
/// Documentation:
/// https://doc.stocksharp.com/topics/designer/strategies/using_code/fsharp/create_own_indicator.html
/// </summary>
type EmptyIndicator() as this =
	inherit BaseIndicator()

	// Internal fields
	let mutable changeValue = 20
	let mutable counter = 0
	let mutable isFormedValue = false

	/// <summary>
	/// The percentage value (+/-) used to modify the input price.
	/// </summary>
	member this.Change
		with get () = changeValue
		and set value =
			changeValue <- value
			this.Reset()

	/// <summary>
	/// Defines if the indicator has formed (became ready for trading).
	/// </summary>
	override this.CalcIsFormed() = isFormedValue

	/// <summary>
	/// Resets the indicator to its initial state.
	/// </summary>
	override this.Reset() =
		base.Reset()
		isFormedValue <- false
		counter <- 0

	/// <summary>
	/// The main logic to process input values.
	/// </summary>
	override this.OnProcess(input: IIndicatorValue) : IIndicatorValue =
		// every 10th call try to return an "empty" value
		if RandomGen.GetInt(0, 10) = 0 then
			// empty value still contains just time, no actual data
			DecimalIndicatorValue(this, input.Time)
		else
			// increment counter on each call
			counter <- counter + 1

			// after 5 inputs, indicator is considered formed
			if counter = 5 then
				isFormedValue <- true

			let mutable value = input.ToDecimal()

			// random change by a factor of +/- Change%
			let randomFactor = decimal (RandomGen.GetInt(-changeValue, changeValue)) / 100m
			value <- value + (value * randomFactor)

			// return final indicator value
			let result = DecimalIndicatorValue(this, value, input.Time)
			// randomly mark it as final or not
			result.IsFinal <- RandomGen.GetBool()
			result

	/// <summary>
	/// Load indicator settings from a given <see cref="SettingsStorage"/>.
	/// </summary>
	override this.Load(storage: SettingsStorage) =
		base.Load(storage)
		this.Change <- storage.GetValue<int>(nameof(this.Change))

	/// <summary>
	/// Save indicator settings to a given <see cref="SettingsStorage"/>.
	/// </summary>
	override this.Save(storage: SettingsStorage) =
		base.Save(storage)
		storage.SetValue(nameof(this.Change), this.Change)

	/// <summary>
	/// A string representation that includes the current <see cref="Change"/> value.
	/// </summary>
	override this.ToString() =
		sprintf "Change: %d" this.Change
This indicator receives an incoming value and makes an arbitrary deviation on the set parameter Change value.
The description of the indicator methods is available in the section Custom Indicator.
To add the created indicator to the diagram, you need to use the Indicator cube, and in it, specify the necessary indicator:
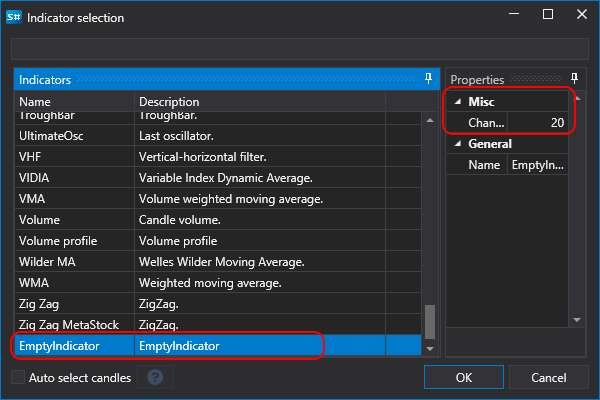
The Change parameter, previously set in the indicator code, is shown in the properties panel.
Warning
Indicators from F# code cannot be used in strategies created in F# code. They can only be used in strategies created from cubes.